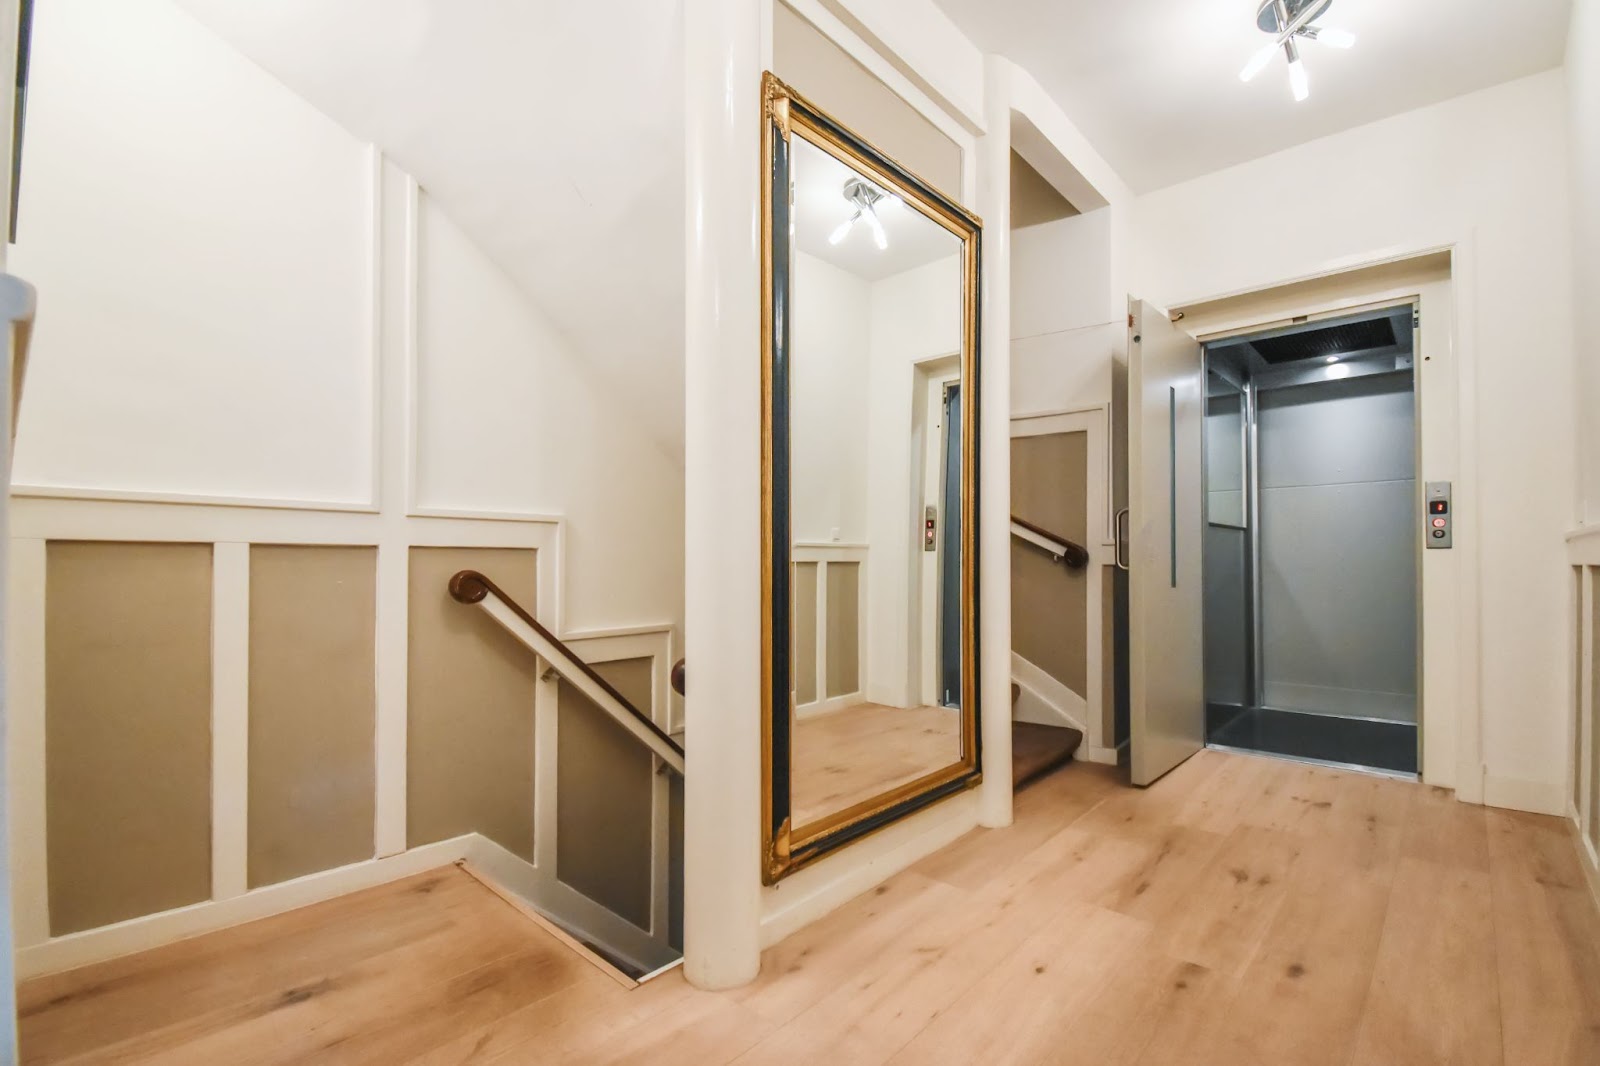
Adding a residential lift to your home can greatly enhance its accessibility, comfort, and value. This modern upgrade can make your home more convenient for everyone, from families with young children to those with mobility needs.
But before you proceed, it's essential to understand the steps involved, the costs, and the different types of lifts available.
This guide will walk you through everything you need to know to make an informed decision and ensure a smooth installation process.
Why Install a Residential Lift?
Residential lifts, also known as home elevators, are becoming increasingly popular for a variety of reasons:
-
Increased Accessibility: A lift can make it easier to move between floors, which is especially beneficial for individuals with mobility challenges, elderly family members, or parents with young children in strollers.
-
Multiple Levels: if your home has more than two storeys; perhaps split level, three storeys or with a basement, a residential lift can assist in moving from floor to floor.
-
Improved Home Value: A residential lift can increase the resale value of your property, making it a smart long-term investment.
But how do you go about installing one?
Step 1: Assessing the Space for Installation
Before you start, the first thing to consider is whether your home has enough space to accommodate a lift. If you’re retrofitting a lift into an existing home, you’ll need to evaluate the available room for both the lift and its shaft. Some homes may require structural modifications, such as extending walls or adjusting plumbing.
Fortunately, there are compact lifts available that can be installed in smaller spaces, and many lift companies offer tailored solutions to make retrofitting easier.
If space is limited, consider a pneumatic vacuum lift, which is typically smaller and doesn’t require a traditional shaft.

Step 2: Choosing the Right Type of Lift
There are several types of residential lifts, each with unique benefits and costs. The main types include:
-
Hydraulic Elevators: Ideal for high-traffic homes or those needing high weight capacity, hydraulic lifts are quiet and can carry large loads, making them excellent for wheelchair access.
-
Pneumatic Vacuum Elevators: These lifts use air pressure to move the cabin, offering a modern, compact solution for smaller spaces.
-
Cable-Driven Elevators: These lifts are a popular choice for homes with multiple floors due to their smooth operation and ability to travel greater distances.
Your choice will depend on factors such as the number of floors, weight capacity, aesthetics, and budget.
Step 3: Preparing for Installation
Once you’ve chosen the type of lift, you’ll need to plan the installation. For new homes, this process is typically smoother, as the lift can be incorporated into the building’s design.
However, for retrofitting, the process involves modifying the existing structure to make room for the lift and shaft. Here’s what to expect:
-
Consultation and Design: A reputable lift company will guide you through the design process, helping you select finishes, materials, and the most suitable location for your lift.
-
Builder Coordination: If you’re retrofitting a lift, you’ll need to work with a builder to ensure the space is prepared for the lift’s installation. This may involve creating an elevator shaft or adjusting the building’s electrical and plumbing systems.
-
Installation: The installation process can take anywhere from a few days to several weeks, depending on the complexity of the project.
During this time, your lift company will perform all necessary checks and ensure that the lift meets safety standards before it’s operational.

Step 4: Understanding Costs
The cost of adding a residential lift can vary significantly depending on factors such as the lift type, the number of floors, and the complexity of the installation. Generally, for a single-person lift, you can expect costs to start around $18,000, while larger lifts for multiple people can cost anywhere between $25,000 to $30,000.
Retrofitting a lift into an existing home can be more expensive, with costs ranging from $35,000 to $65,000 or more, depending on the level of structural modification required.
Keep in mind that these prices may increase if additional work is needed, such as relocating plumbing or altering walls to fit the shaft.
Step 5: Maintenance and Ongoing Costs
Residential lifts require regular maintenance to ensure their safety and longevity. Maintenance costs will vary depending on the lift type and the manufacturer's requirements. It’s essential to budget for periodic inspections and servicing to keep the lift in optimal condition.
The Key to a More Accessible Home

Adding a residential lift to your home is an investment that can improve both its functionality and value.
By consulting with a professional lift company, you can ensure the installation is seamless, safe, and meets all your accessibility requirements.
If you’re ready to start planning, contact a trusted lift provider to get more details on available options, pricing, and installation timelines. A residential lift could be the key to transforming your home into a more comfortable, accessible, and future-proof living space.
Publisher Website: www.homeshelf.com.au