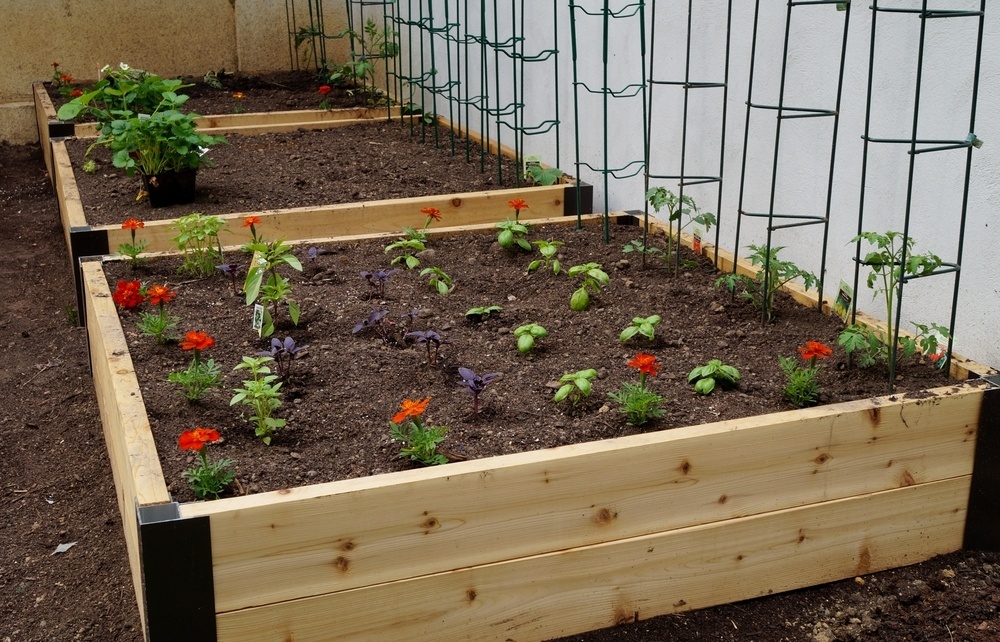
Are you eager to elevate your gardening experience and harvest fresh, healthy produce right in your own backyard? Building a raised garden bed is a fantastic way to do just that, and the good news is, you don't need to be a skilled tradesperson to get started.
With a few basic trade tools and materials, you can easily build a sturdy, long-lasting raised garden bed that will provide you with endless opportunities for gardening. Get ready to bring your gardening vision to life
1. Select a Site for Your Garden Bed
Those of us who’ve designed or built a home understand location is everything, and landscape design in no different. Selecting a site for your raised garden bed, there are a few factors to consider in order to ensure the success of your garden. Here are a few tips to help you choose the best location:
- Sunlight: Make sure your garden bed will receive at least 6-8 hours of direct sunlight per day, as this is essential for most plants to grow and thrive.
- Drainage: Avoid low-lying areas that collect water, as standing water can lead to root rot and other issues for your plants. If necessary, you can create a raised bed on top of an area that doesn't drain well, or choose a different location.
- Soil Quality: Consider the quality of the soil in the area where you plan to build your raised garden bed. If the soil is heavy clay or otherwise poor quality, building a raised bed allows you to bring in better soil and improve the growing conditions for your plants.
- Proximity to Water: Choose a location that is close to a water source, as this will make it easier to keep your plants watered, especially during hot summer months.
- Accessibility: Make sure your raised garden bed is easily accessible, both for planting and maintenance purposes.
- Aesthetics: Consider the visual appeal of your raised garden bed location, as it can add to the overall aesthetic of your outdoor living space.
By taking these factors into consideration, you can choose the best site for your raised garden bed and ensure that your plants have the best possible growing conditions.
2. Decide on the Optimal Bed Dimensions and Configuration
When deciding on the optimal bed dimensions and configuration for your raised garden bed, you have the flexibility to choose a size and shape that fits your needs and the space you have available. Here are some things to consider:
Consider the amount of space you have available and the number of plants you want to grow. A typical raised garden bed is 120-240cm feet wide and 120-360 cm feet long, but you can choose any size that works for you.
Also consider the height of the raised garden bed based on the types of plants you plan to grow and your own physical ability to reach into the bed. A standard height is 30-45cm, but you can make it higher or lower as needed.
Choose a shape that best fits your needs and the space you have available. A rectangular or square shape is a common option, but you can also choose circular, hexagonal, or other shapes.
Think about the layout of your plants in the raised garden bed. You can choose a traditional grid-style configuration, or you can plant in blocks, rows, or other arrangements.
Make sure your raised garden bed is easy to access from all sides, so you can reach all parts of the bed without stepping in the soil and compacting it.
By considering these factors, you can determine the optimal dimensions and configuration for your raised garden bed and create a space that is both functional and visually appealing.

3. Estimate the Amount of Lumber Required
Calculate the total linear length of lumber you will need by adding up the lengths of all four sides of your bed.
For example, if your bed is 120 centimetres wide by 240 centimetres long, you will need 4 sides x 60 centimetres each = 240 linear centimetres of lumber for each side.
Determine the height of your raised garden bed in centimetres and multiply this number by the linear length from step 2 to get the total amount of lumber needed. For example, if your raised garden bed is 40 centimetres tall, you will need 240 linear centimetres x 40 centimetres = 9,600 linear centimetres of lumber.
Consider the thickness of the lumber you will be using. The most common thickness for raised garden bed lumber is 5 centimetres, but you can use thicker or thinner boards if you prefer.
Divide the total amount of lumber from step 3 by the thickness of the boards to determine the number of boards you will need. Add a 10-20 per cent safety margin to your estimate to account for any cuts, waste, or mistakes.
4. Obtain The Necessary Materials
Write down a comprehensive list of everything you need, including the type and size of lumber, screws or nails, weed barrier, and any other supplies required for your raised garden bed.
Compare prices at multiple retailers, both online and in-store, to find the best deals on the materials you need. Builders often have the inside track on the best place to find affordable, high-quality material, so if you have one in the family, ask them for a recommendation. Keep in mind that buying in bulk may save you money in the long run.
If you're looking for an eco-friendly option, consider using recycled or reclaimed materials for your raised garden bed.
For example, you can use old pallets, fencing, or other discarded wood to build your bed. If you know someone who has extra materials lying around, ask if they would be willing to donate them to your project.
5. Prepare the Bed Components
Preparing the bed components for building a raised garden bed is an important step in the process that ensures that your bed will be sturdy and long-lasting. Here's how to do it:
- Measure and mark your lumber pieces to the desired length, and then cut them to size using a saw.
- Use sandpaper to smooth the rough edges of your cut lumber pieces. This will prevent any splinters and make the pieces easier to handle.
- If desired, you can apply a finish such as paint, stain, or sealer to your bed components. This will help protect the wood from moisture and extend its lifespan.
- Place the bed components in a dry, well-ventilated area and arrange them in the order you plan to assemble them. This will make the assembly process easier and quicker.

6. Build the Short Sides of the Raised Garden Bed
Building the short sides of a raised garden bed is the next step in the assembly process. Here's how to do it:
- Mark and cut your lumber pieces to the desired length
- Place two pieces of lumber parallel to each other, and then attach them together using screws or nails at regular intervals along the length of the pieces. Repeat this process to assemble the second short side of your bed.
- Use a carpenter's square to ensure that both short sides are square and have 90-degree angles. If necessary, make adjustments to ensure that the sides are square.
- Repeat the above steps to build the other two short sides of your raised garden bed.
7. Join the Short Sides With the Long Boards
The final step of the process before you begin planting, here is how to bring the pieces of the puzzle together:
- Place the short sides: Place the short sides of your raised garden bed in the desired location, making sure they are square and level.
- Attach the long boards: Place the long boards between the short sides and attach them to the short sides using screws or nails. Repeat the process for the other boards.
- Check for stability: Make sure the bed is stable by giving it a gentle shake. If necessary, make adjustments by adding additional screws or nails to reinforce the connection between the short sides and long boards.
- Repeat the process: Repeat the above steps for each corner of your raised garden bed.
Designing and building a raised garden bed is a rewarding and simple project that can be accomplished by anyone, regardless of their gardening or carpentry experience.
By following the 7 steps outlined in this guide, you can construct a sturdy and attractive garden bed that will provide you with a space for growing your own fresh produce, herbs, and flowers.
Whether you choose to tackle the project on your own or with the help of friends and family, the end result will be a beautiful and functional garden bed that you can enjoy for years to come.
Publisher Website: https://wbtools.com.au/